VPN / Global Protect Instructions
In order to access your resources externally, please follow these instructions.
Initial download
- Click the following link VPN Tunnel or type https://216.12.121.186:4443
- Ignore the certificate warning that appears. The process is different in each browser.
(note: The site safe, this warning appears because the certificate is self signed)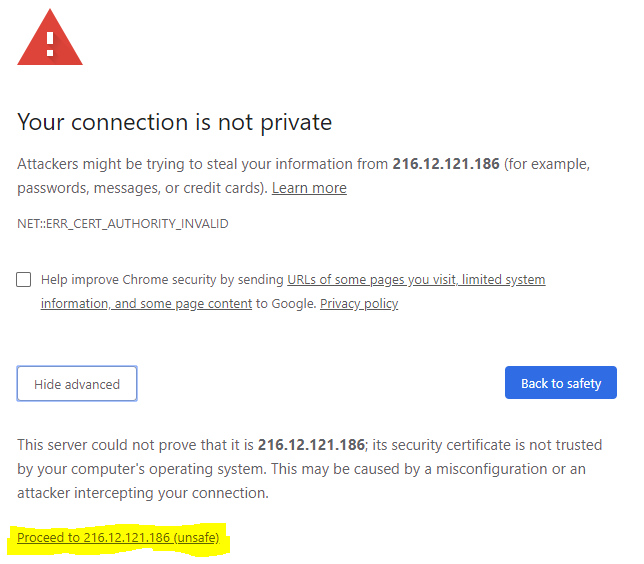
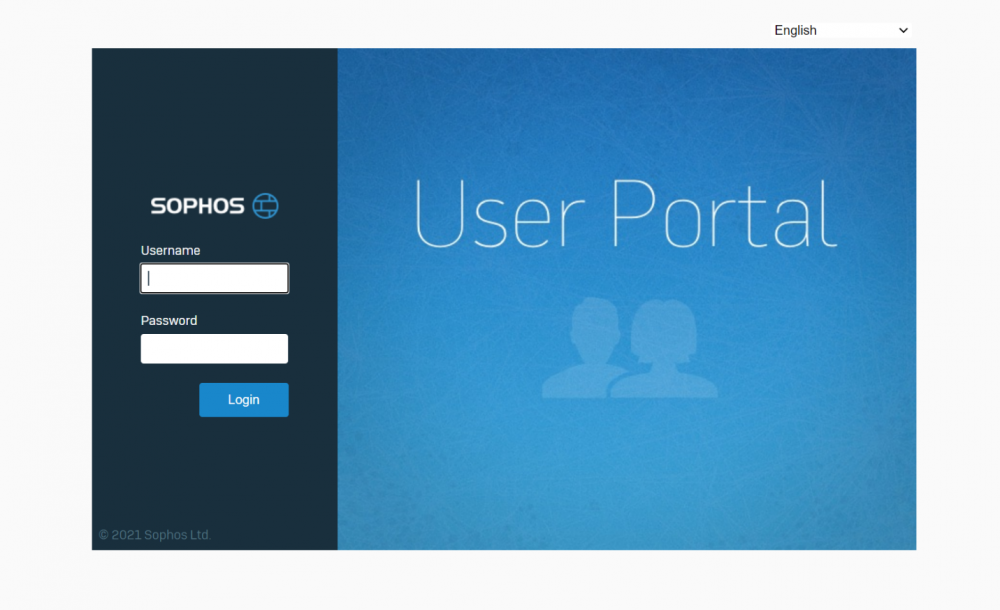
- On the form that appears, enter your regular domain username and password. The same one you use to sign into your on-site machine. (note: you DO NOT need to include @wvncc.edu)
- Once you have been authorized, click the appropriate installer for your computer to start the download
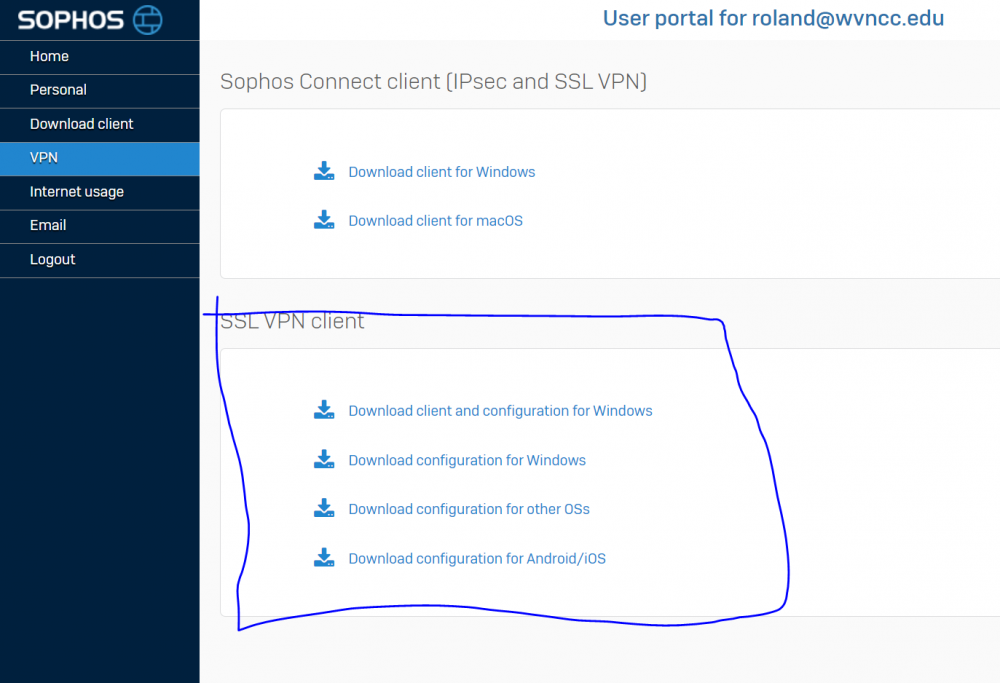
- Follow the instructions for the installer
If you cannot get past this stage, please email IT@wvncc.edu
- Follow the instructions for the installer
If you cannot get past this stage, please email IT@wvncc.edu
Connecting
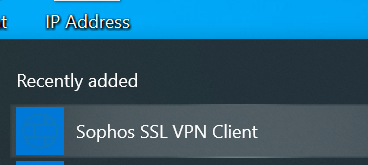
- Find Sophos in your applications list

- Select the Sophos SSL VPN Client

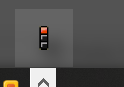
- If you don't see a stop light on the bottom left click show hidden icons in your taskbar and right click the icon that looks like a Stop light and type in your credentials again.
- Enter your username and password in the login form just as you did in the previous section

Connecting Network Drives (WIN 10)
To connect any network drive on a Windows 10 PC, please do the following
- In the windows search bar, type in "This PC"
- Right-click on the icon that appears and click "map network drive"
- On the next screen, select any drive letter you want. In the second field type one of the following or the appropriate share path provided by the IT departament:
Wheeling Staff - \\megaman\staff$\YOUR USERNAME
Wheeling Faculty - \\megaman\faculty$\YOUR USERNAME
New Martinsville Staff - \\nm-share\staff$\YOUR USERNAME
New Martinsville Faculty - \\nm-share\faculy$\YOUR USERNAME
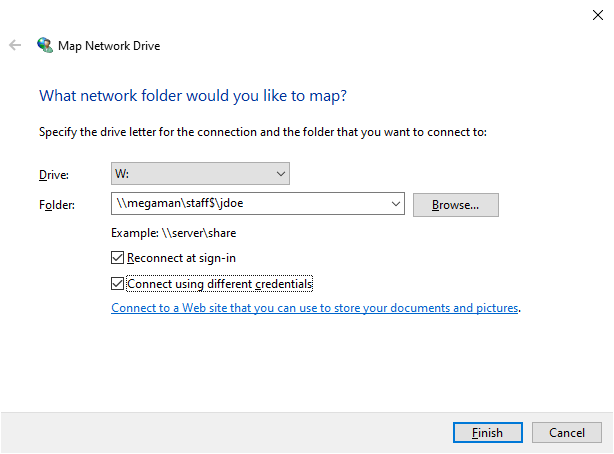
- Check both boxes below
- Click Finish and enter your credentials when prompted (On a non-domain machine you have to put wvnccusername in the username field)